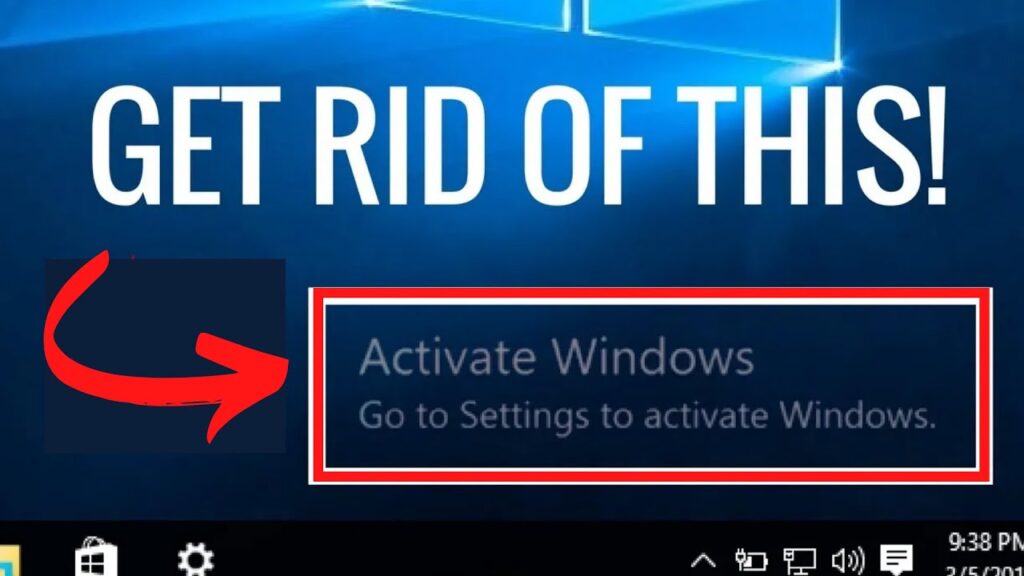
If you’re using Windows 10 and you haven’t activated it, then you might have noticed a watermark at the bottom-right corner of your screen that says “Activate Windows. Go to Settings to activate Windows.” This watermark can be annoying, and it can affect your productivity. Fortunately, there are several methods you can use to remove Activate Windows 10 watermark. In this article, we’ll show you four easy methods to get rid of this watermark.

Method 1: Activate Windows 10
The most straightforward way to remove Activate Windows 10 watermark is to activate Windows. You can do this by purchasing a license key from Microsoft or a certified retailer. You can also use free product key for windows 10. Sometimes it also works. Once you have the key, follow these steps:
- Press the Windows key + I to open the Settings app.
- Go to Update & Security.
- Click on Activation.
- Click on Change product key.
- Enter your license key and click on Next.
- Follow the on-screen instructions to activate Windows.
If your license key is valid, the Activate Windows 10 watermark should disappear. This is one of benefits of activating windows 10 with a Product Key
Method 2: Use a Third-Party Tool
If you don’t want to activate Windows or purchase a license key, you can use a third-party tool to remove the watermark. One of the most popular tools is called “Universal Watermark Disabler.” Here’s how to use it:
- Download Universal Watermark Disabler from a trusted source.
- Extract the files from the ZIP archive.
- Right-click on “UWD.exe” and select “Run as administrator.”
- Click on “Install.”
- Restart your computer.
Once your computer restarts, the Activate Windows 10 watermark should be gone.
Method 3: Modify Registry Settings
Another way to Permanently Fix Activate Windows 10 watermark is to modify the registry settings. Here’s how to do it:
- Press the Windows key + R to open the Run dialog box.
- Type “regedit” and press Enter.
- Navigate to HKEY_CURRENT_USER\Control Panel\Desktop.
- Look for a key called “PaintDesktopVersion” and double-click on it.
- Change the value from 1 to 0.
- Click on OK.
- Restart your computer.
After your computer restarts, the Activate Windows 10 watermark should be removed.
Method 4: Use Command Prompt
You can also use Command Prompt to get rid of activate Windows 10 watermark. Here’s how to do it:
- Press the Windows key + X and select “Command Prompt (Admin).”
- Type the following command and press Enter: “taskkill /F /IM explorer.exe”
- Type the following command and press Enter: “explorer.exe”
- Close Command Prompt.
After you close Command Prompt, the Activate Windows 10 watermark should be gone.
Method 5: Using a Batch File
A batch file is a script file that contains a series of commands that are executed in sequence. You can use a batch file to automate the process of removing Activate Windows 10 watermark. Here’s how to do it:
Step 1: Open Notepad.
Step 2: Copy and paste the following code into Notepad:
@echo off taskkill /F /IM explorer.exe explorer.exe exit
Step 3: Click on File > Save As.
Step 4: Choose a name for the file, such as “RemoveWatermark.bat”. Make sure the file extension is “.bat” and not “.txt”.
Step 5: Save the file to your desktop or any other location that’s easy to find. It is recommended to make new folder on desktop.
Step 6: Right-click on the file and select “Run as administrator”.
Step 7: Wait for the script to run. It will automatically kill the explorer.exe process, restart it, and remove the Activate Windows 10 watermark.
Step 8: Once the script has finished running, restart your computer to ensure that the watermark is permanently removed.
Note: This method should be used with caution, as it involves modifying system files. Make sure to create a system restore point before attempting this method.
If your windows 10 OS is properly activated, You will not see “Remove Activate Windows 10 Watermark”. Therefore it is suggested to activate windows 10 first. If you are facing any trouble in activating windows 10, then learn how to fix common windows 10 activation issues first.
Conclusion
The Activate Windows 10 watermark can be annoying, but there are several methods you can use to remove it. You can activate Windows, use a third-party tool, modify registry settings, or use Command Prompt. We hope this article has helped you get rid of the watermark and improve your productivity.
Frequently Asked Questions:
Yes, it’s legal to use a third-party tool to remove the watermark. However, we recommend using a trusted tool from a reputable source
No, removing the watermark will not affect your Windows 10 updates. However, it’s essential to keep your Windows 10 updated to ensure security and performance.
Yes, you can remove the watermark using a third-party tool, modifying registry settings, or using Command Prompt, even if you haven’t activated Windows. However, It is recommend activating Windows for the best experience.
If none of the methods work, you can try contacting Microsoft support for assistance. They may be able to provide a solution or help you activate Windows.
If you don’t activate Windows 10, you’ll have limited functionality, and some features will be disabled. You’ll also see the Activate Windows 10 watermark on your screen, which can be annoying. Activating Windows will unlock all features and remove the watermark.
Leave a Reply